How to Build A Planter Box
With planter stands, hanging baskets and decorative plant pots, you can dress up your outdoor decor and give your plants homes that will help them grow. Another way to customize your growing areas is to build your own DIY planter boxes.

DIY wood planters can be completed in less than a day. Use this guide to learn the basics of how to build planter boxes, then you can incorporate your new skills and expand into many more planter box designs and ideas like the one shown in the image above. Create many different planter boxes to add fresh splashes of color around your deck, patio or garden
1. Gather Tools and Materials

- Untreated wood
- Clamps
- Paint or stain
- Sandpaper
- Wood screws
- Screwdriver
Tips:
- Use galvanized screws in the project. They will be easier to drive and stand up better to outdoor conditions over time.
- Fine mesh screen or landscape fabric will be needed to line the bottom of the planter.
2. Size and Cut Wood
- Measure your placement area to help determine the size of your planter box. Be sure to account for how many plants you want to place and the distance you need to have between the plants in your overall plans.
- Look at ground placement for your planter to determine if you need to build it with a base. If you are planning to place the planter on bare ground, it won’t need a base. If you intend to locate it on a patio or other surface, the planter will require a bottom.
- Boards should be at least 10 inches wide to ensure that the planter depth will allow the plants to grow a stable root network.
- Mark your boards with the measurements for the sides of your planter and then use a circular saw or hand saw to cut. You can also take your calculations to your local Home Depot and an associate will cut your lumber to your desired sizes.
3. Attach Wood
- Drill a pilot hole in the middle of the width of each of the two short boards then place one more pilot hole on either side of the first hole. The end holes should be 3/4-inch in from the end of the edge.
- Using galvanized screws, fasten the boards together, lining them up so that the boards with pilot holes will be on the outside corners.
- Fit a drill with a driving bit that will fit the screw heads and drive each screw in through the adjoining boards, taking care to line up with the pilot holes.
- If the box needs a bottom, measure the inner dimensions – length and width – to determine the size to cut the bottom board.
- Place the sized bottom board in the box. Use galvanized screws to attach the bottom by drilling through the sides of the box.
4. Finish Details

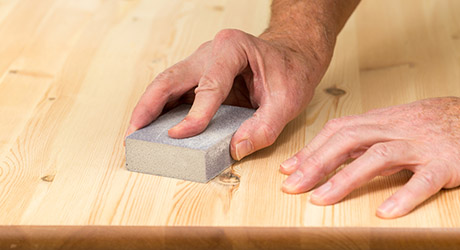
- Sand any rough edges on your planter box.
- If you built the planter with a bottom, invert it and drill at least five drainage holes in the bottom of the box. Space the holes evenly, and drill them no more than 3/4-inch wide. If you’ve constructed a larger planter, you may need to add additional holes.
- Cut a piece of nylon or screen to the size the bottom of your box and line the interior with it to protect the wood base. Tack in place with small finish nails and be sure to cut the fabric out where it covers the drainage holes.
- Stain or paint the outside of the planter to protect it from the elements and allow coating to dry completely.
- Place the planter in the space it should occupy. Adjust the angle so that the box will receive the correct amount of sun for the plants you intend to place inside.
- Line the bottom of the box with a single layer of river rock or pebbles to improve drainage.
- Fill the box about 3/4 full with the appropriate soil, then add plants and fill in with remaining soil.
- Water thoroughly to start and check to be sure the box is draining well. If you find you need more drainage, drill a few 1/2-inch holes along the sides of the planter box, about one inch up from the base.
ORIGINALLY PUBLISHED ON HOMEDEPOT.COM

